Nextcloud 是一款开源的网盘系统,提供了丰富的功能并且有支持多个平台的客户端,使用方便。本文记录了在阿里云的轻量应用服务器 @阿里云云栖号 上创建一个个人私有的网盘经历。
准备工作
购买轻量应用服务器
这里选择了最便宜(每月 60RMB,一年 612RMB)的一款 2CPU, 1G内存,400GB/月,峰值带宽为 3Mbps,硬盘为 40GB的ESSD,对于我够用了。
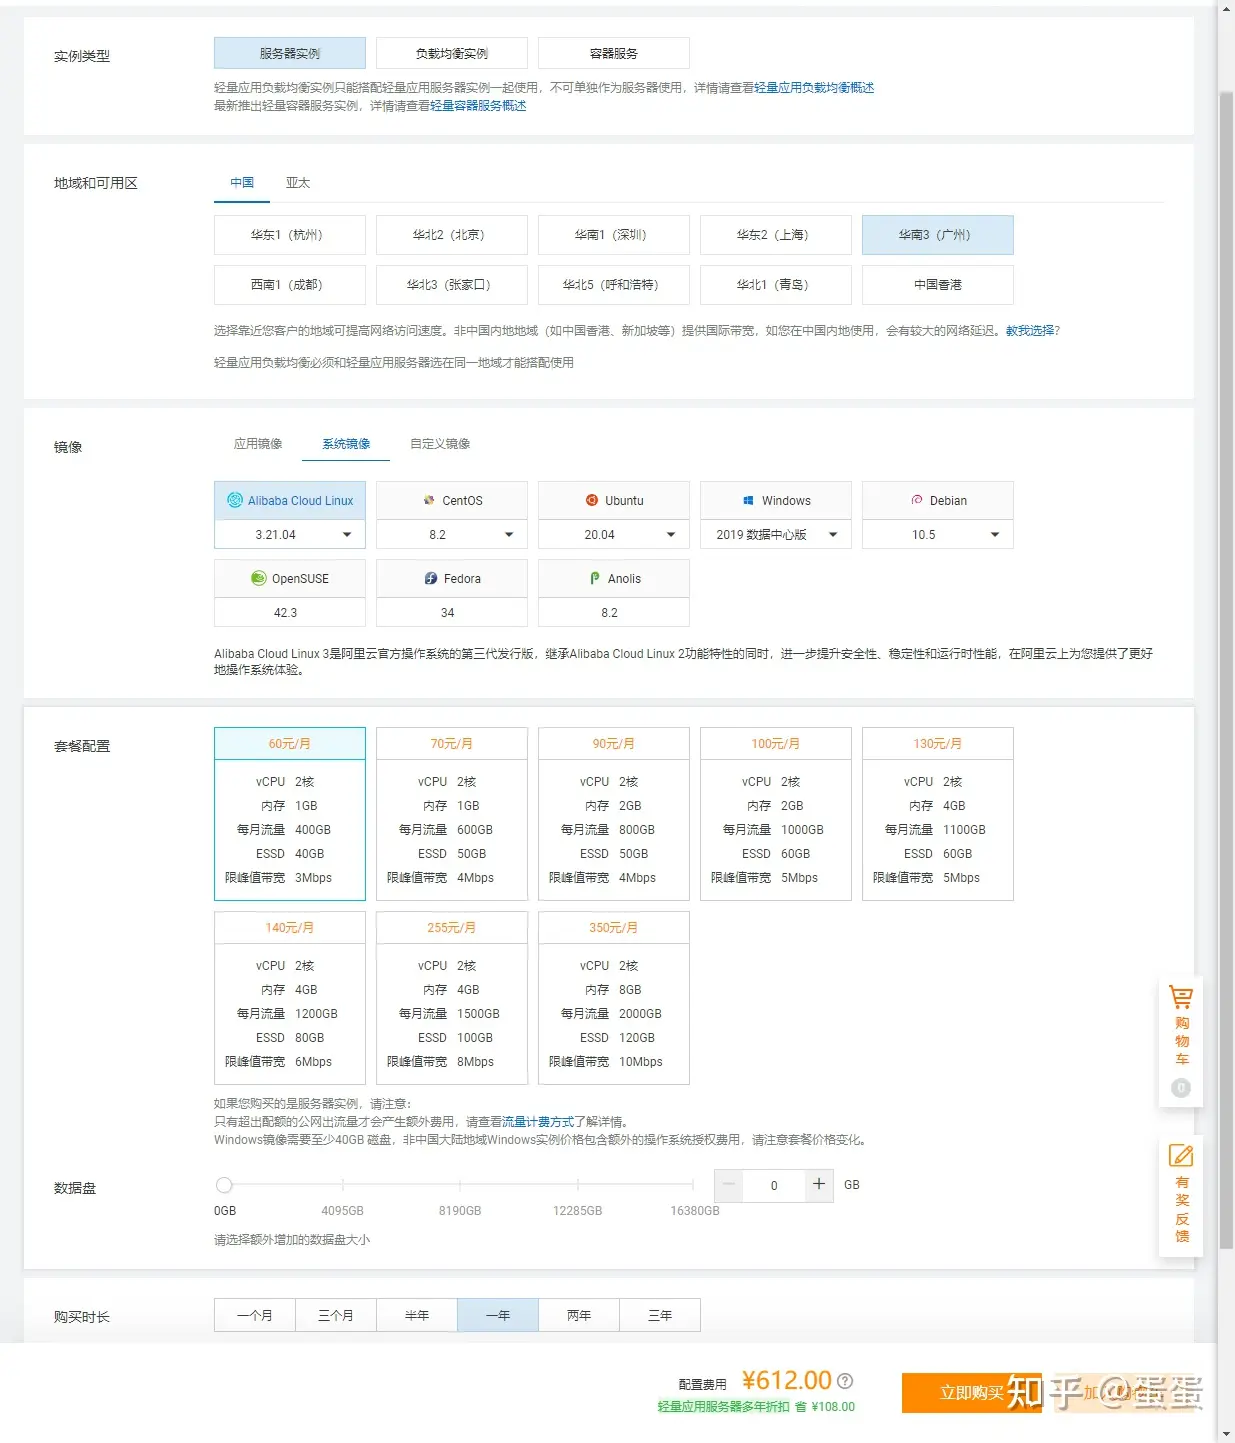
如果存储不够,可以再额外购买 OSS(对象存储)来存放数据,用 OSS 来存放数据还是比较便宜的。
注意国内服务器提示 http 服务需要 ICP 备案 DNS 才会正常解析,网站才能正常访问。
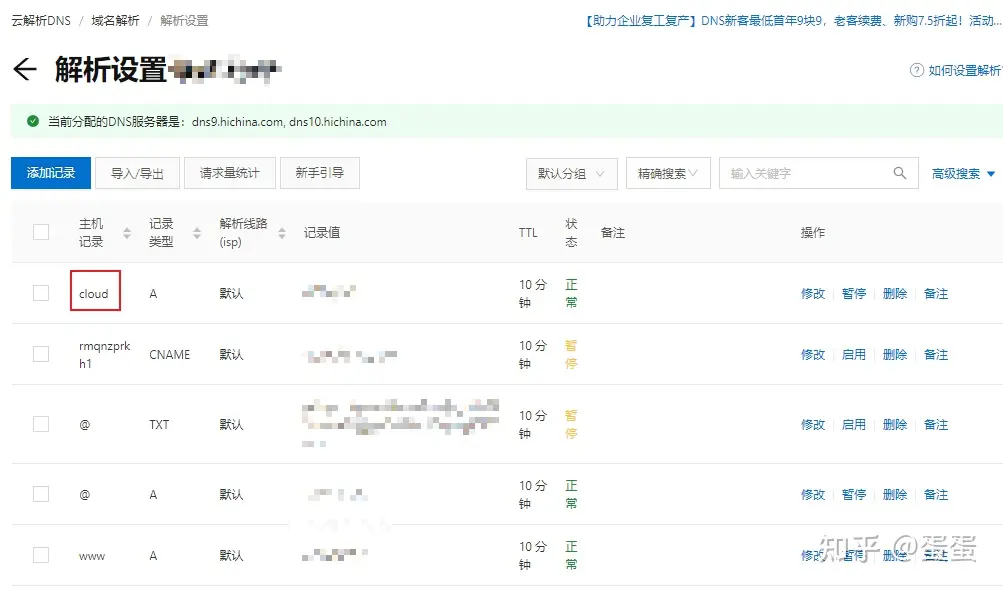
申请域名
购买一个域名并配置好域名解析。 此外使用的是 http://cloud.xxx.xxx 这个域名作为 Nextcloud 网盘的入口。
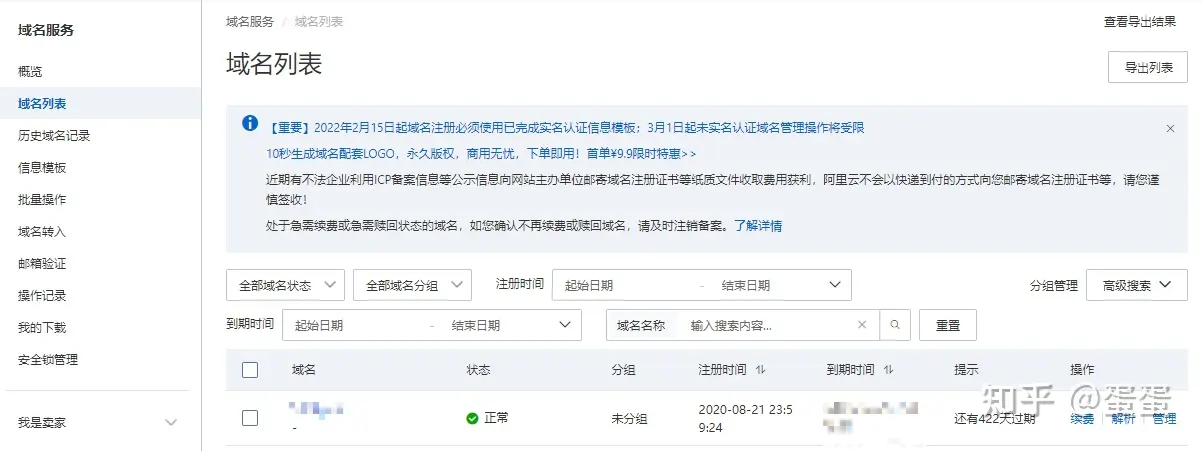
需要注意的是,在阿里云购买的域名都需要实名认证(其它家没用过,具体情况不清楚)。如果域名解析的地址为国内 IP 则需要 IPC 备案才可访问。
升级 Debian
轻应用服务器只提供的 Debian 10,而 Debian 10 的官方源中没有提供 php7.4 ,由于 NextCloud 要求 php 的最低版本为 7.4 ,所以我们首先将 Debian 升级到 11。
替换源
# 更新源
sudo sed -i 's/buster/bullseye/g' /etc/apt/sources.list
sudo sed -i 's#bullseye/updates# bullseye-security#g' /etc/apt/sources.list
# 升级系统
sudo apt full-upgrade
安装依赖
安装 PHP-fpm
NextCloud 要求 PHP 版本为 7.4+ (官方推荐使用 8.0)。 * 必须模块
```shell
sudo apt install php php-fpm php-curl php-gd php-json php-mbstring php-xml php-common php-zip php-mysql php-bz2 php-zip
```

由于数据库使用的 MariabDB,所以我选择安装 `php-mysql`,*NextCloud* 也支持使用 *SQLite*, *PostgreSQL* 和 *Oracle Database*。
-
推荐安装的模块
-
特定功能所需
-
为了支持 LDAP 需要安装
php-ldap -
支持无密码登陆,需要安装
php-bcmath, php-gmp -
支持旋转图片,生成预览图片,需要安装
php-exif, php-imagick
启动 php-fmp 服务,此处暂时使用系统默认配置,后面会根据 NextCloud 文档建议进行一些调整。
sudo /etc/init.d/php-fpm start
安装 MariabDB
我选用 MariabDB 作为 NextCloud 的后台数据库。
sudo apt install mariadb-server mariadb-client
默认安装的版本是 10.5。 启动 mariadb 服务器,并创建一个新的数据库 nextcloud, 新的用户 nextcloud* 用于 NextCloud 。 “`shell sudo /etc/init.d/mysqld start
# 连接数据库 mysql -uroot `` * 创建数据库:CREATE DATABASE nextcloud* 创建用户: GRANT ALL PRIVILEGES ON nextcloud.* TO 'nextcloud'@'127.0.0.1' IDENTIFIED BY 'nextcloud'`
安装 nginx
sudo apt install nginx
下载安装 NextCloud
手动安装
通过 NextCloud 官方网站下载最新的发布包。当前为 24.0.1。
官方发布包中已经包含了运行 nextcloud 所需的第三方依赖,大约有 120M 左右。如果从 GitHub Release 下载,大约只有 40M 左右,但是没有包括依赖,解压后还需要手动添加依赖,相当麻烦。所以建议直接从官网下载而不是去 GitHub 下载。

latest.tar.bz2 是从官方网站下载的。 server-24.0.1.tar.gz 是从 GitHub 下载的。
下载好最新压缩包后,解压到 /var/www/http://cloud.xxx.xxx (私有云的根目录)。
配置 nginx 和 php-fpm
NextCloud 文档中提供了一份 nginx 的配置。如下,只需调整几处就可以使用:
upstream php-handler {
    # php-fpm 的配置与你的 php-fpm 配置有关    # 我们使用 php-fpm 默认的配置形式    # server 127.0.0.1:9000;    server unix:/var/run/php/php7.4-fpm.sock;}# Set the `immutable` cache control options only for assets with a cache busting `v` argumentmap $arg_v $asset_immutable {
    "" "";
    default "immutable";}server {
    listen 80;
    listen [::]:80;
    #################################    # 更新域名为你的域名    #################################    server_name cloud.xxx.xxx;

    # Prevent nginx HTTP Server Detection    server_tokens off;

    # Enforce HTTPS    return 301 https://$server_name$request_uri;}server {
    listen 443      ssl http2;
    listen [::]:443 ssl http2;
    #################################    # 更新域名为你的域名    #################################    server_name cloud.xxx.xxx;

    # Path to the root of your installation    #################################    # 更新域名为你的域名    #################################    root /var/www/cloud.xxx.xxx;

    #################################    # 此处我们不配置 SSL 相关信息,而是通过 Let's Encrypt 工具自动帮我们添加    # 后面将介绍如何使用 Let's Encrypt 申请免费的 https。    # 另外阿里云也有提供免费 ssl 证书    #################################    # Use Mozilla's guidelines for SSL/TLS settings    # https://mozilla.github.io/server-side-tls/ssl-config-generator/    # ssl_certificate     /etc/ssl/nginx/cloud.example.com.crt;    # ssl_certificate_key /etc/ssl/nginx/cloud.example.com.key;
    # Prevent nginx HTTP Server Detection    server_tokens off;

    # HSTS settings    # WARNING: Only add the preload option once you read about    # the consequences in https://hstspreload.org/. This option    # will add the domain to a hardcoded list that is shipped    # in all major browsers and getting removed from this list    # could take several months.    #add_header Strict-Transport-Security "max-age=15768000; includeSubDomains; preload;" always;
    # set max upload size and increase upload timeout:    client_max_body_size 512M;
    client_body_timeout 300s;
    fastcgi_buffers 64 4K;

    # Enable gzip but do not remove ETag headers    gzip on;
    gzip_vary on;
    gzip_comp_level 4;
    gzip_min_length 256;
    gzip_proxied expired no-cache no-store private no_last_modified no_etag auth;
    gzip_types application/atom+xml application/javascript application/json application/ld+json application/manifest+json application/rss+xml application/vnd.geo+json application/vnd.ms-fontobject application/wasm application/x-font-ttf application/x-web-app-manifest+json application/xhtml+xml application/xml font/opentype image/bmp image/svg+xml image/x-icon text/cache-manifest text/css text/plain text/vcard text/vnd.rim.location.xloc text/vtt text/x-component text/x-cross-domain-policy;

    # Pagespeed is not supported by Nextcloud, so if your server is built    # with the `ngx_pagespeed` module, uncomment this line to disable it.    #pagespeed off;
    # The settings allows you to optimize the HTTP2 bandwitdth.    # See https://blog.cloudflare.com/delivering-http-2-upload-speed-improvements/    # for tunning hints    client_body_buffer_size 512k;

    # HTTP response headers borrowed from Nextcloud `.htaccess`    add_header Referrer-Policy                      "no-referrer"   always;
    add_header X-Content-Type-Options               "nosniff"       always;
    add_header X-Download-Options                   "noopen"        always;
    add_header X-Frame-Options                      "SAMEORIGIN"    always;
    add_header X-Permitted-Cross-Domain-Policies    "none"          always;
    add_header X-Robots-Tag                         "none"          always;
    add_header X-XSS-Protection                     "1; mode=block" always;

    # Remove X-Powered-By, which is an information leak    fastcgi_hide_header X-Powered-By;

    # Specify how to handle directories -- specifying `/index.php$request_uri`    # here as the fallback means that Nginx always exhibits the desired behaviour    # when a client requests a path that corresponds to a directory that exists    # on the server. In particular, if that directory contains an index.php file,    # that file is correctly served; if it doesn't, then the request is passed to    # the front-end controller. This consistent behaviour means that we don't need    # to specify custom rules for certain paths (e.g. images and other assets,    # `/updater`, `/ocm-provider`, `/ocs-provider`), and thus    # `try_files $uri $uri/ /index.php$request_uri`    # always provides the desired behaviour.    index index.php index.html /index.php$request_uri;

    # Rule borrowed from `.htaccess` to handle Microsoft DAV clients    location = / {
        if ( $http_user_agent ~ ^DavClnt ) {
            return 302 /remote.php/webdav/$is_args$args;
        }
    }

    location = /robots.txt {
        allow all;
        log_not_found off;
        access_log off;
    }

    # Make a regex exception for `/.well-known` so that clients can still    # access it despite the existence of the regex rule    # `location ~ /(\.|autotest|...)` which would otherwise handle requests    # for `/.well-known`.    location ^~ /.well-known {
        # The rules in this block are an adaptation of the rules        # in `.htaccess` that concern `/.well-known`.
        location = /.well-known/carddav { return 301 /remote.php/dav/; }
        location = /.well-known/caldav  { return 301 /remote.php/dav/; }

        location /.well-known/acme-challenge    { try_files $uri $uri/ =404; }
        location /.well-known/pki-validation    { try_files $uri $uri/ =404; }

        # Let Nextcloud's API for `/.well-known` URIs handle all other        # requests by passing them to the front-end controller.        return 301 /index.php$request_uri;
    }

    # Rules borrowed from `.htaccess` to hide certain paths from clients    location ~ ^/(?:build|tests|config|lib|3rdparty|templates|data)(?:$|/)  { return 404; }
    location ~ ^/(?:\.|autotest|occ|issue|indie|db_|console)                { return 404; }

    # Ensure this block, which passes PHP files to the PHP process, is above the blocks    # which handle static assets (as seen below). If this block is not declared first,    # then Nginx will encounter an infinite rewriting loop when it prepends `/index.php`    # to the URI, resulting in a HTTP 500 error response.    location ~ \.php(?:$|/) {
        # Required for legacy support        rewrite ^/(?!index|remote|public|cron|core\/ajax\/update|status|ocs\/v[12]|updater\/.+|oc[ms]-provider\/.+|.+\/richdocumentscode\/proxy) /index.php$request_uri;

        fastcgi_split_path_info ^(.+?\.php)(/.*)$;
        set $path_info $fastcgi_path_info;

        try_files $fastcgi_script_name =404;

        include fastcgi_params;
        fastcgi_param SCRIPT_FILENAME $document_root$fastcgi_script_name;
        fastcgi_param PATH_INFO $path_info;
        fastcgi_param HTTPS on;

        fastcgi_param modHeadersAvailable true;         # Avoid sending the security headers twice        fastcgi_param front_controller_active true;     # Enable pretty urls        fastcgi_pass php-handler;

        fastcgi_intercept_errors on;
        fastcgi_request_buffering off;

        fastcgi_max_temp_file_size 0;
    }

    location ~ \.(?:css|js|svg|gif|png|jpg|ico|wasm|tflite|map)$ {
        try_files $uri /index.php$request_uri;
        add_header Cache-Control "public, max-age=15778463, $asset_immutable";
        access_log off;     # Optional: Don't log access to assets
        location ~ \.wasm$ {
            default_type application/wasm;
        }
    }

    location ~ \.woff2?$ {
        try_files $uri /index.php$request_uri;
        expires 7d;         # Cache-Control policy borrowed from `.htaccess`        access_log off;     # Optional: Don't log access to assets    }

    # Rule borrowed from `.htaccess`    location /remote {
        return 301 /remote.php$request_uri;
    }

    location / {
        try_files $uri $uri/ /index.php$request_uri;
    }}
申请 SSL 证书
此处使用 Let's Encrypt 提供的免费 ssl 证书。另外阿里云也有提供免费的 ssl 证书。
-
安装或更新
certbot。sudo apt install certbot -
使用
certbot命令申请一个用于 http://cloud.xxx.xxx 的 ssl 证书。 -
直接运行
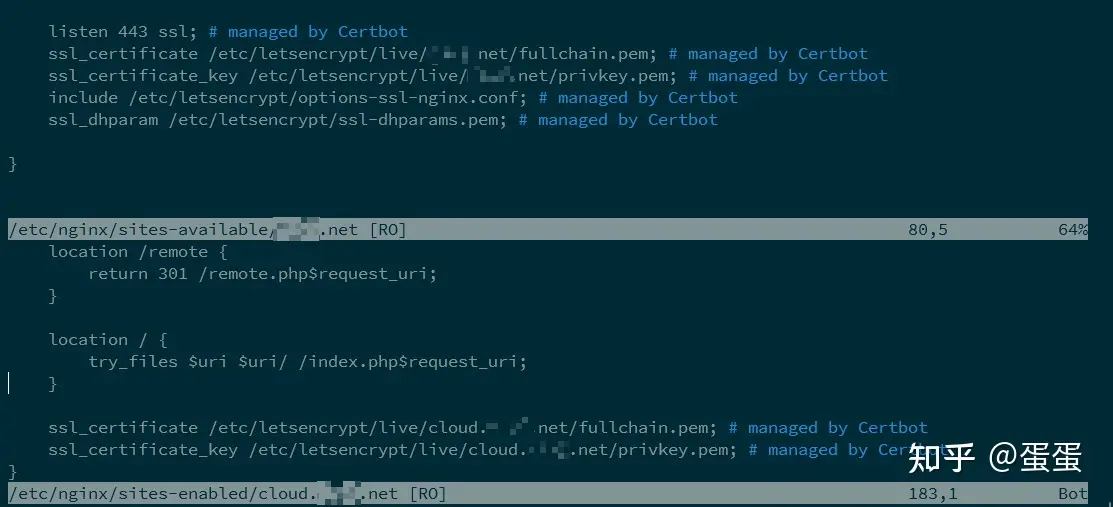
certbot命令会列出当前 nginx 配置中已经配置的域名。

* 运行 certbot run -d cloud.xxx.xxx 申请 ssl 证书。成功后,certbot 会在 nginx 配置文件中自动添加相关配置。如下:
完成安装
当上面的步骤都成功完成后,打开网页 https://cloud.xxx.xxx ,会看到如下页面:(如果提示错误,根据提示解决错误再继续)
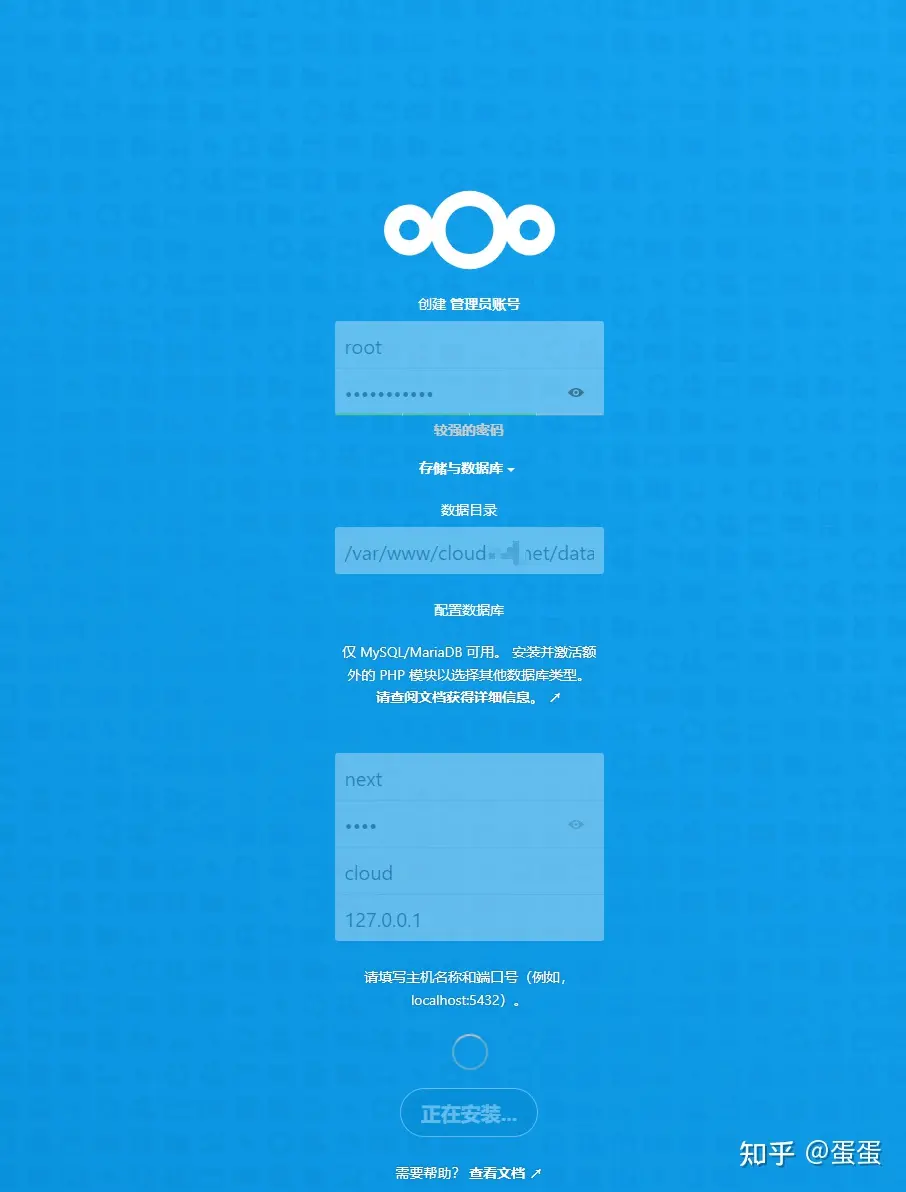
提示你创建管理员帐号并设置密码。 配置数据存放目录。这里将目录设置为 /var/www/http://cloud.xxx.xxx/data 。 配置数据库地址、访问帐号和密码,以及数据库名。 点击完成即开始安装。
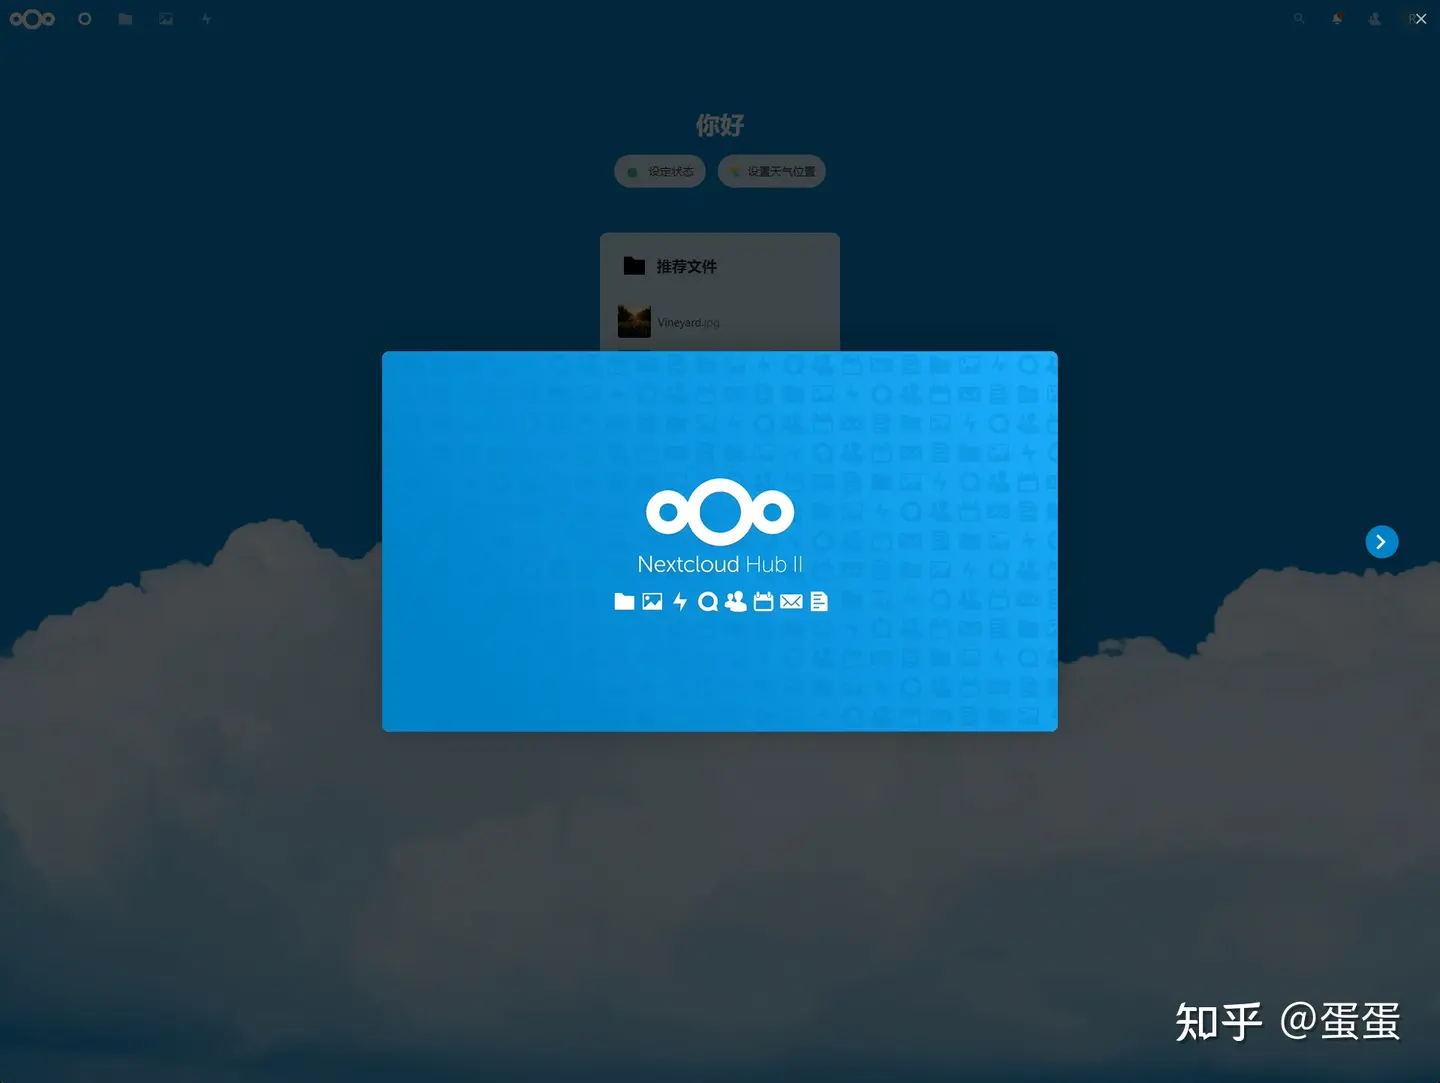
Nextcloud 安装完成后即可通过刚才设置的管理员帐号登陆。登陆进入后,有一个简单的提示并显示仪表盘。如下:
Nextcloud 还提供了桌面客户端和移动 APP ,相当方便。
使用 APP 登入自己的私有云
-
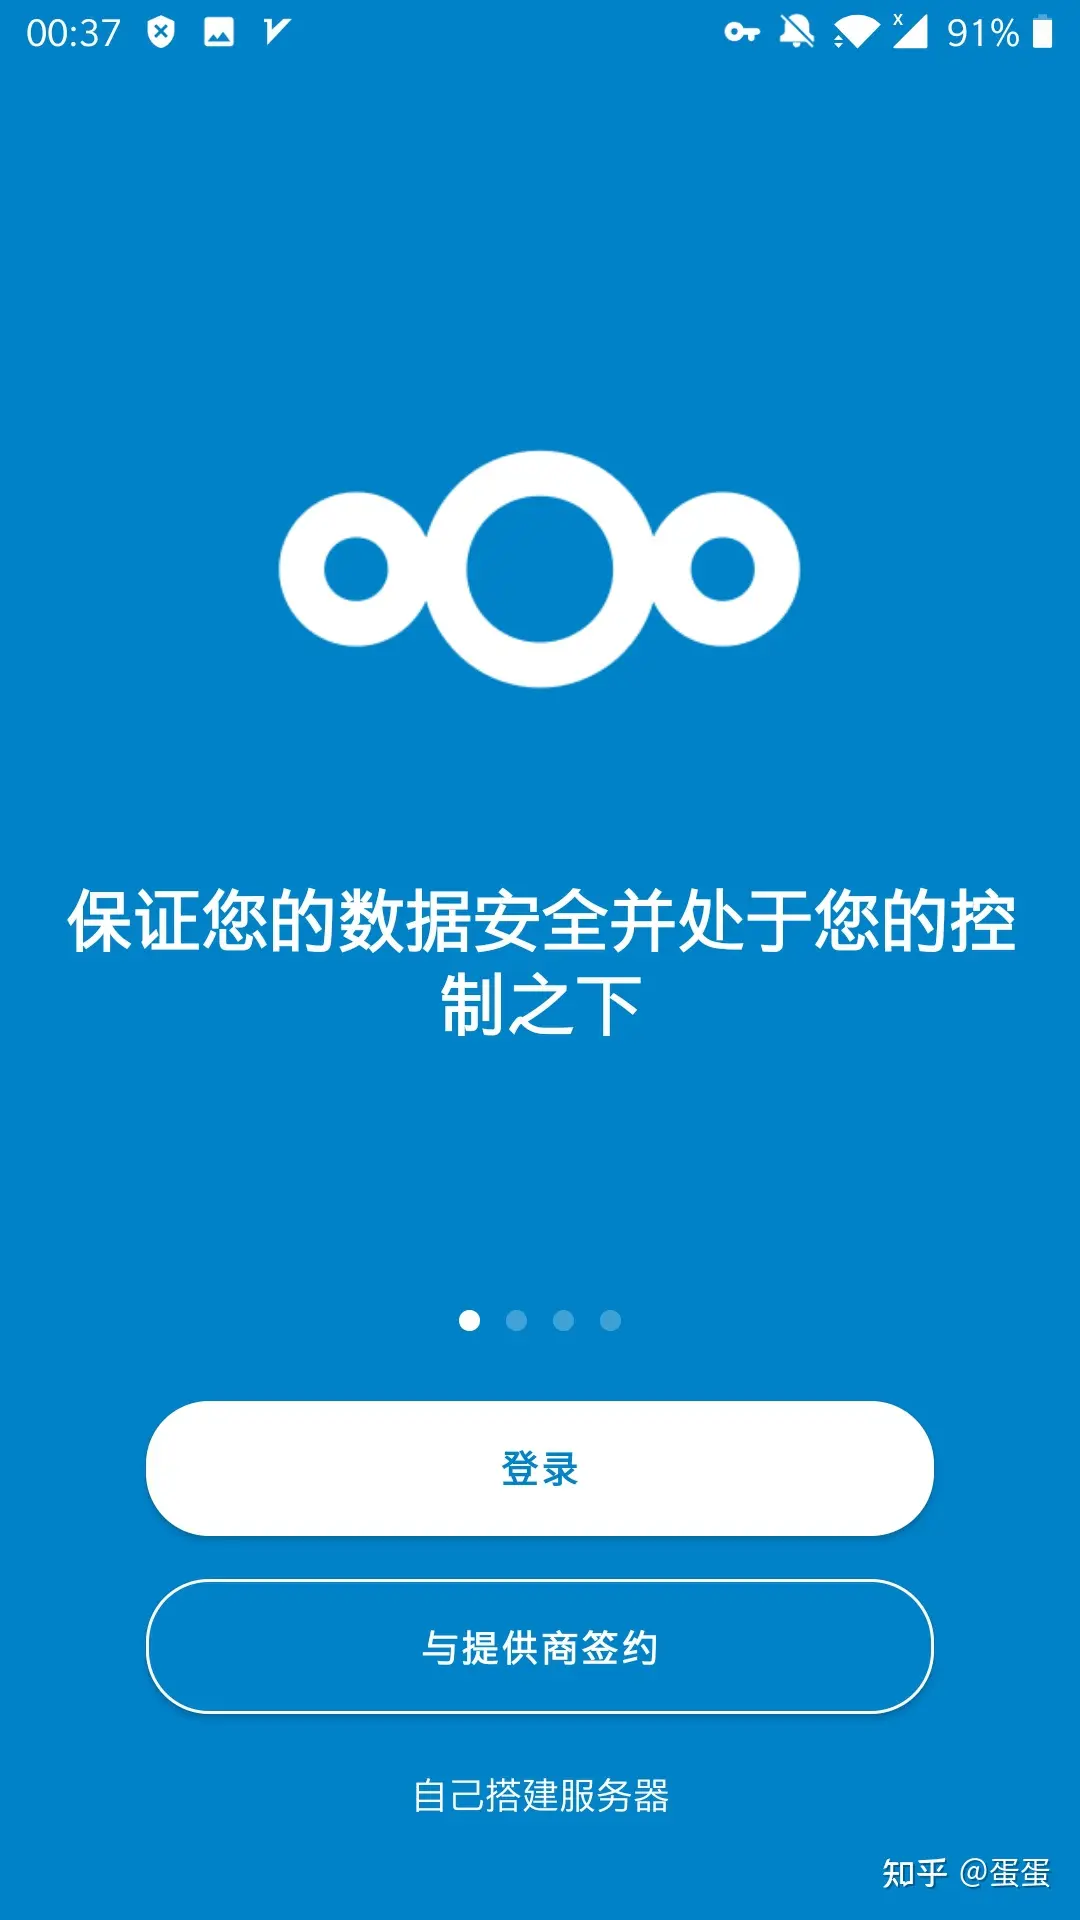
首先从应用商店下载并安装 Nextcloud 的客户端。

-
打开安装好的客户端后的界面如下:
-
点击登陆后,提示输出 Nextcloud 的入口 U
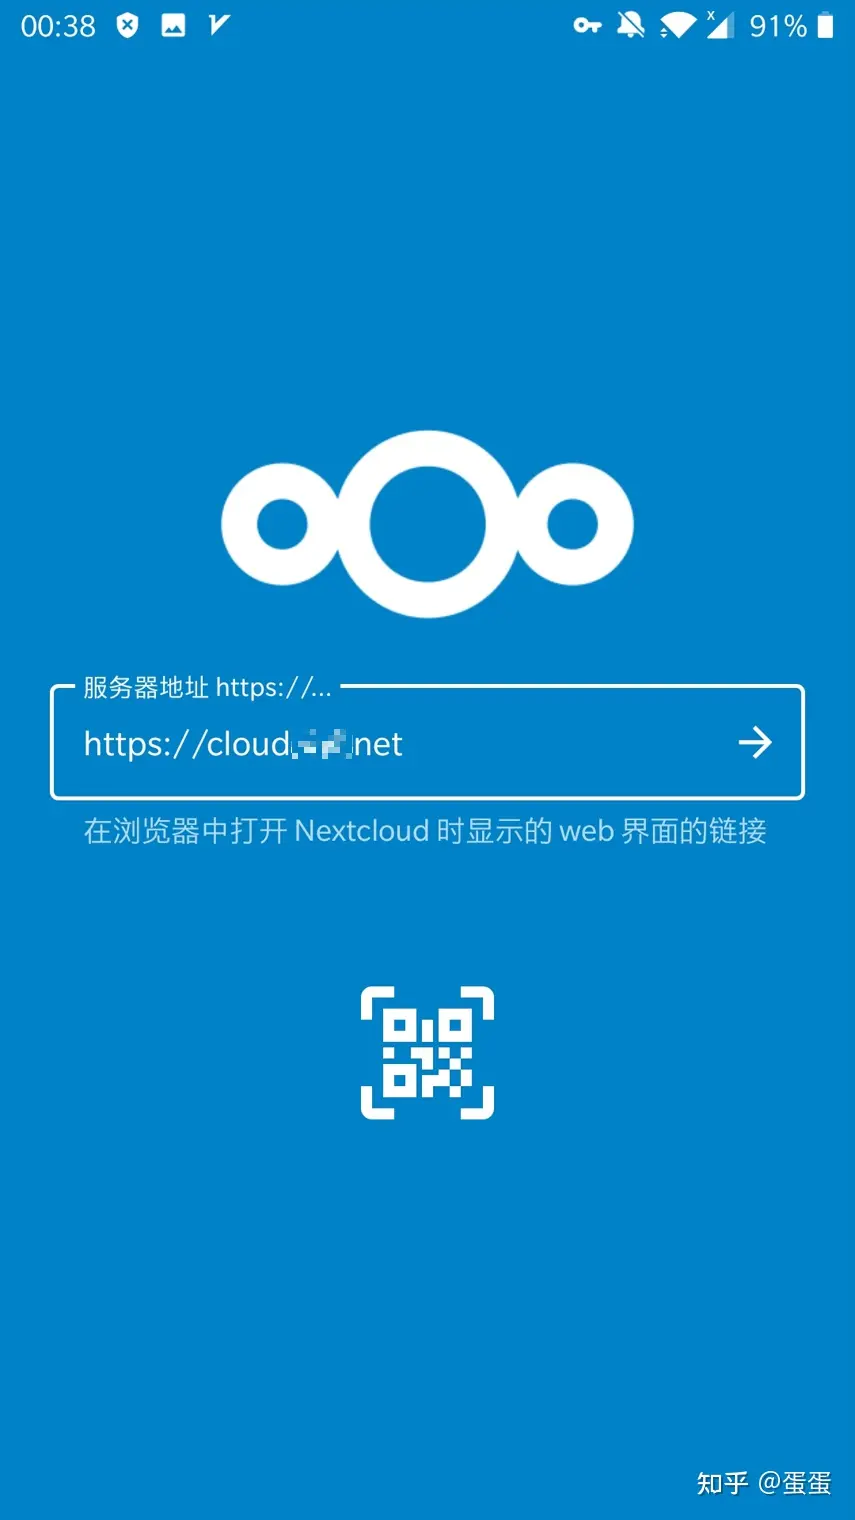
-
接下来提示你输出帐号、密码
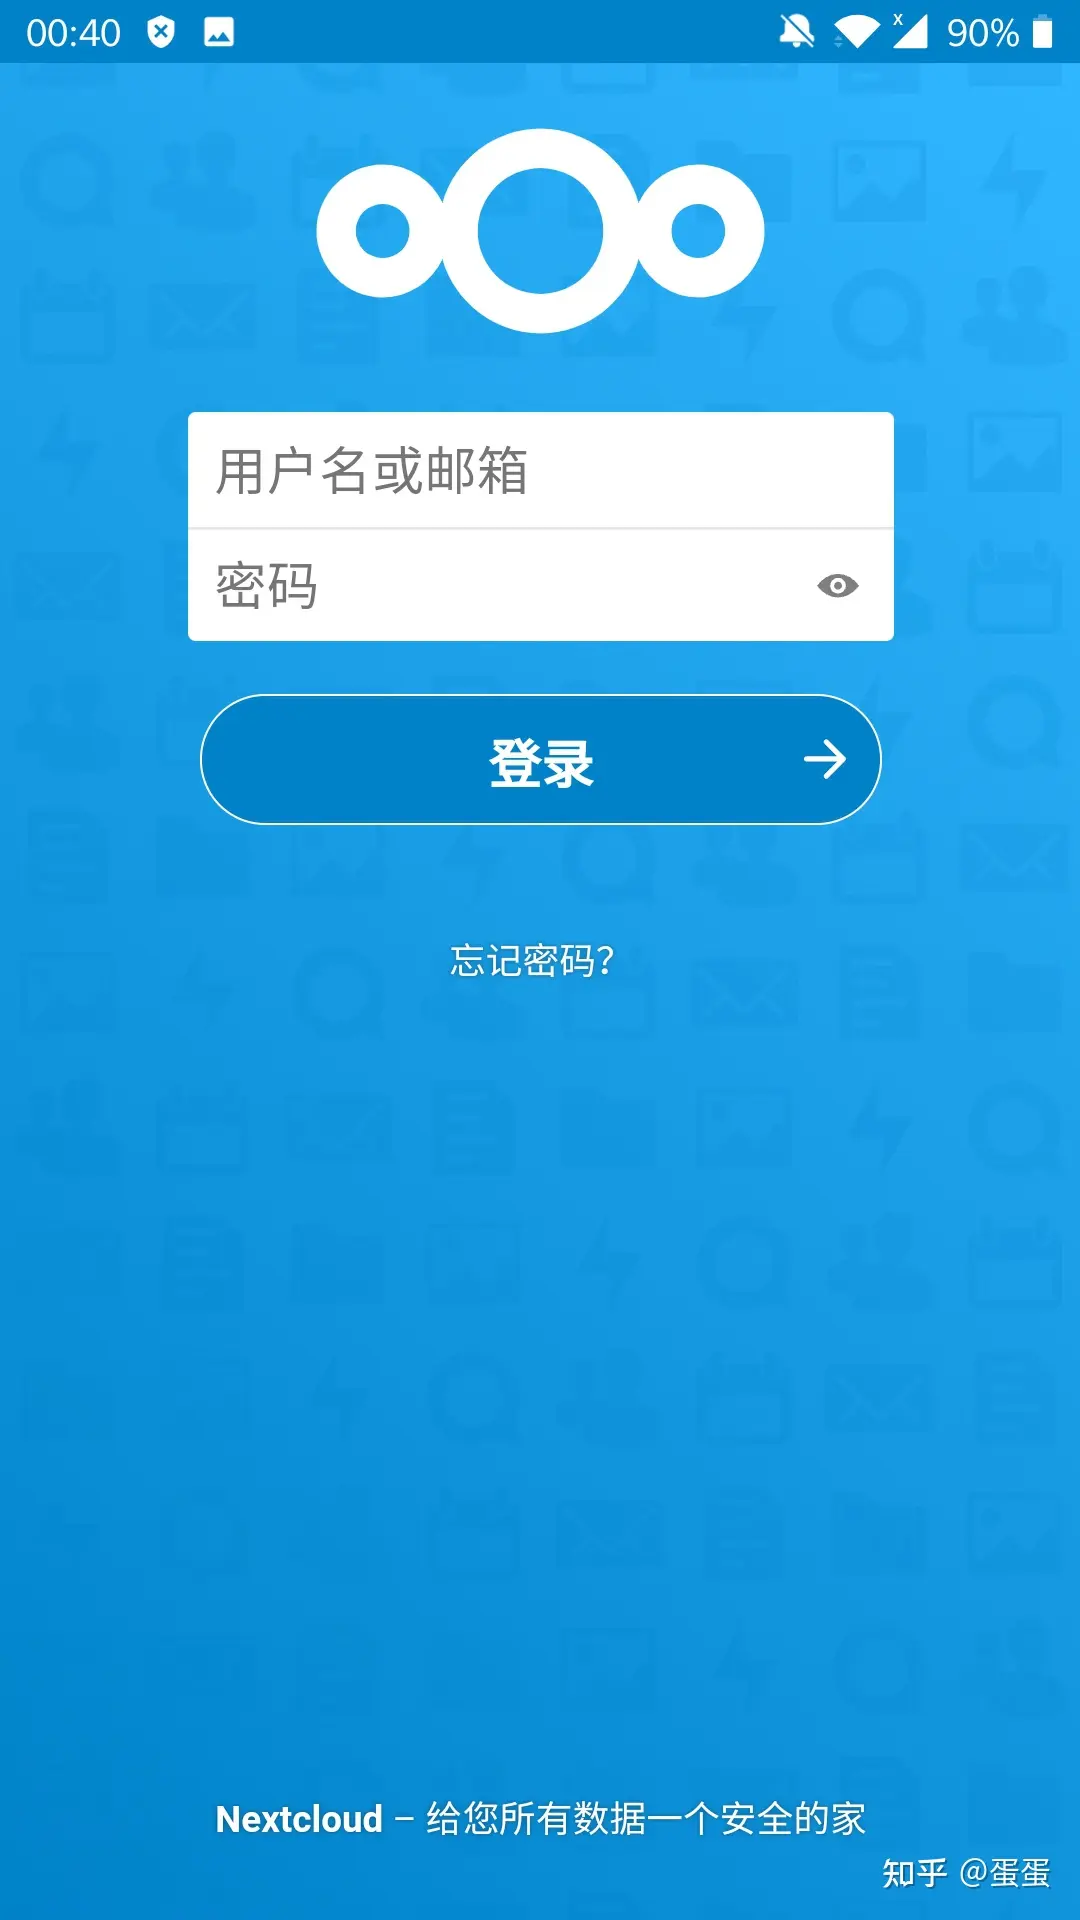
-
帐号密码验证通过后会提示你正在授权设备登陆你的 NextCloud
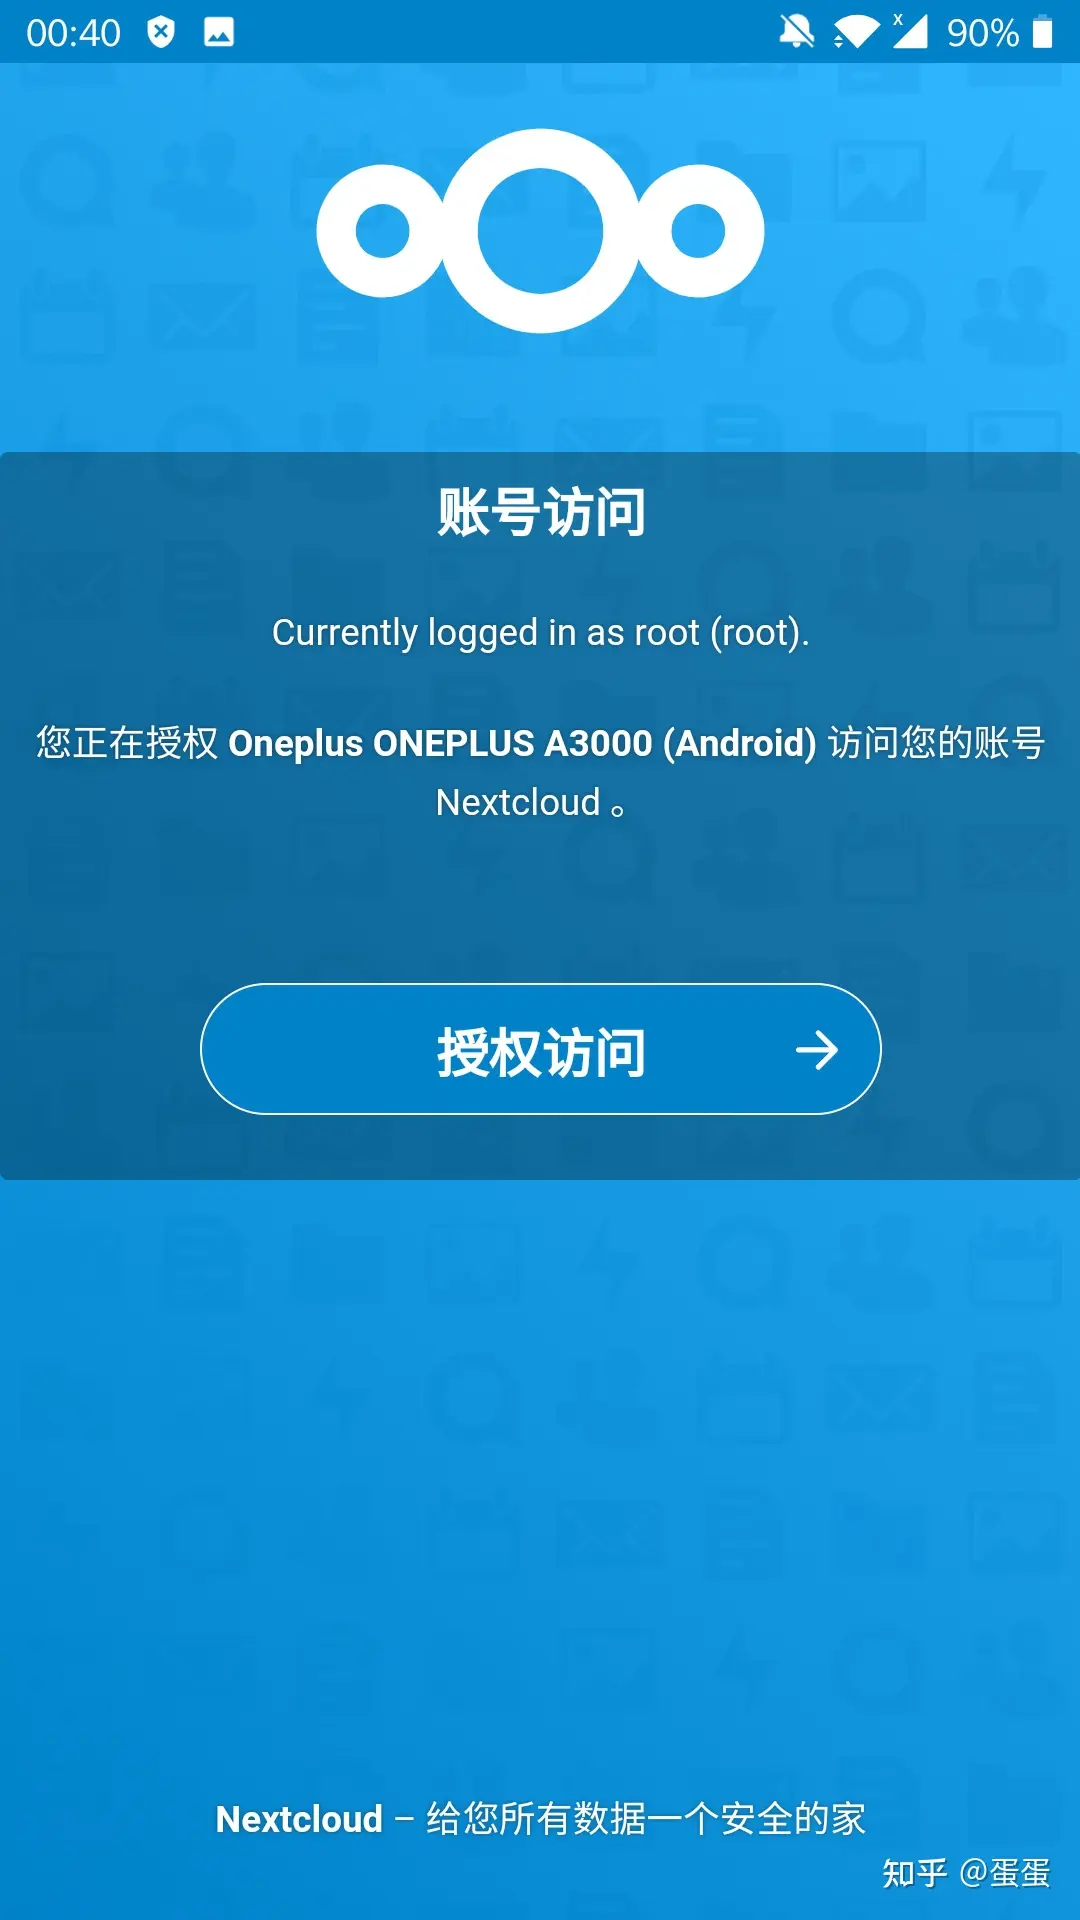
-
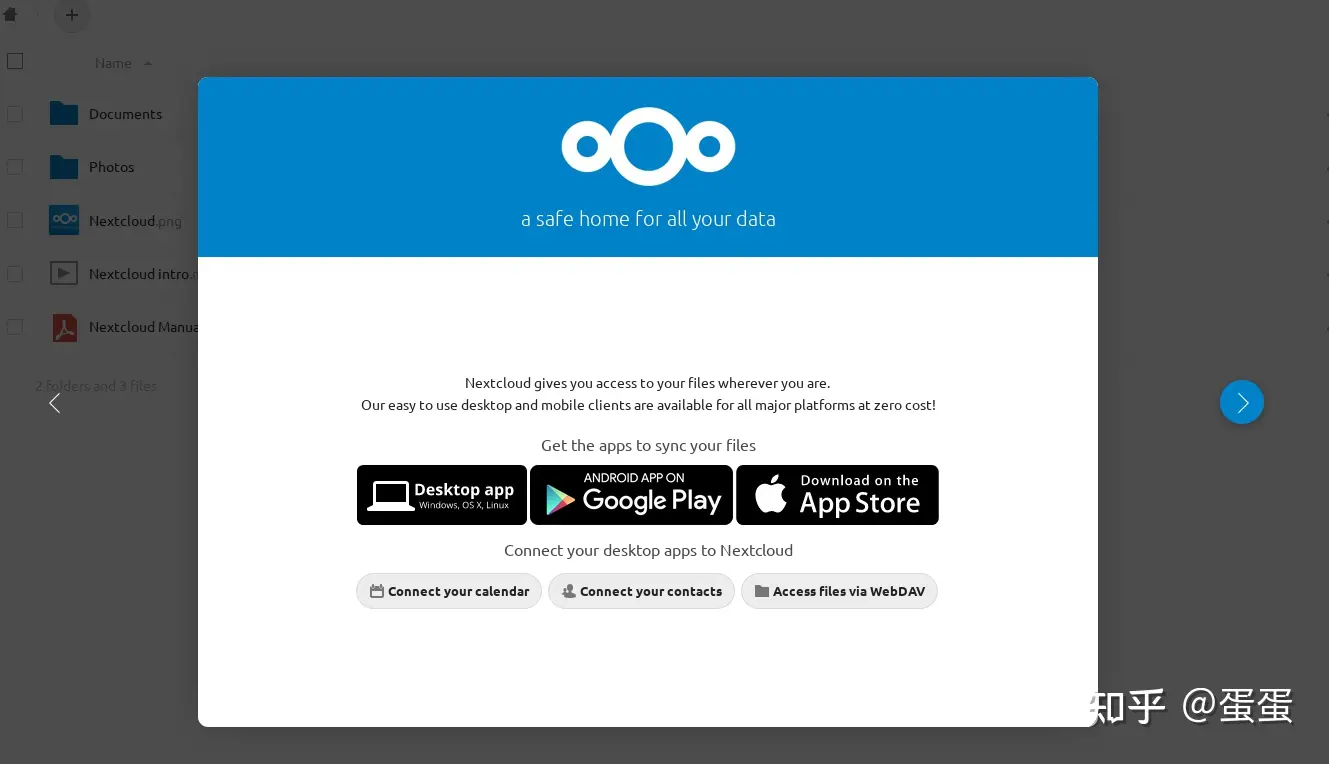
点击“授权访问”后,进入到文件列表。默认有一些关于 Nextcloud 的文档和照片。

小结
本文介绍了使用 nginx + php-fpm + mariadb 和 Nextcloud 搭建了一个私有的网盘服务。其中 Nextcloud 的配置使用的是基本的配置,没有进行额外的调优和加固。Nextcloud 的官方文档中详细说明了如何优化以提高性能、安全性,所以如果想要高效安全的使用 Nextcloud 还请仔细阅读文档。
另外,Nextcloud 官方也提供了 docker 镜像,所以也可以使用 docker 快速搭建 Nextcloud 网盘服务。
后记,最近发现轻量应用服务器的应用镜像中已经提供了 Nextcloud 的镜像(23.0.0),如此基本可以省去上面的步骤,直接、简单的使用 Nextcloud 搭建一个私有网盘服务了。